Pie.
Warm, sugary, delicious, pie.
When I think of pie my mind immediately conjures images of buttery, flaky crusts oozing with warm, syrupy fruit fillings. There is something so comforting and nostalgic about a freshly baked pie being pulled out of the oven. Pie is a dessert that will always have a place in my heart and my stomach for that matter. But that being said, pie isn’t all delicious bites and savory moments. I am completely aware of the severity of this topic I am writing about today. It is an age old debate: crust vs. filling – which of these two key pie-making components is really the best part of your dessert experience? On one hand you have countless filling options: pecan, cherry, strawberry, rhubarb, blueberry, etc, etc. (don’t even get me started on savory pies…I’m looking at you sweet potato). With so many options there could literally be a filling type to satisfy any craving. Then you have your crust. There is consistency with the crust. It is a part of any pie and you know that no matter what variation of filling you may be delighting in at the moment of your sweet treat consumption… you can always finish off your experience by taking those last bites of crust. Is it obvious? I am hands down, by all means a crust person when it comes to a solid piece of pie.
A few summers back I was trying to think of a sweet something to take to a 4th of July party at a friend’s house. I thought about making a pie, I had all the ingredients to make a patriotic filling of strawberries and blue berries- but was short on time. Necessity being the mother of invention; I had to get creative. I thought about making mini pies in muffin tins, folded over hand pies, or personal homemade pop tarts but I didn’t think I had enough pie crust to make a good amount to share. So then I thought, why not make something even tinier? Mini desserts are by far one of my favorite things. So tiny, so cute, so easy to justify eating a handful (or three). In comes the idea for Pie Bites – a tiny little mini poptart/hand pie (I suppose you could call it a finger pie) made of far more crust than filling to satiate the taste buds of crust lovers everywhere.
Now I know what you’re thinking… I forgot another integral part of the pie eating experience: whipped cream. I mean who on God’s great earth can have a slice of pie without a little whipped cream? The two go together like Paula Deen and a stick of butter. I wanted to make a dip to frost these little babies in but didn’t want to resort to a tub of Cool Whip or a can of whipped cream. I also wanted something a little bit heftier with more flavor. And so here is the best dip/whipped topping that I have ever made. No joke. I use this dip for EVERYTHING. So when thinking of a title for said dip I thought…why not the Everything Dip? From Pie Bites to cut up fruit – it’s delicious on just about every sweet treat we eat.
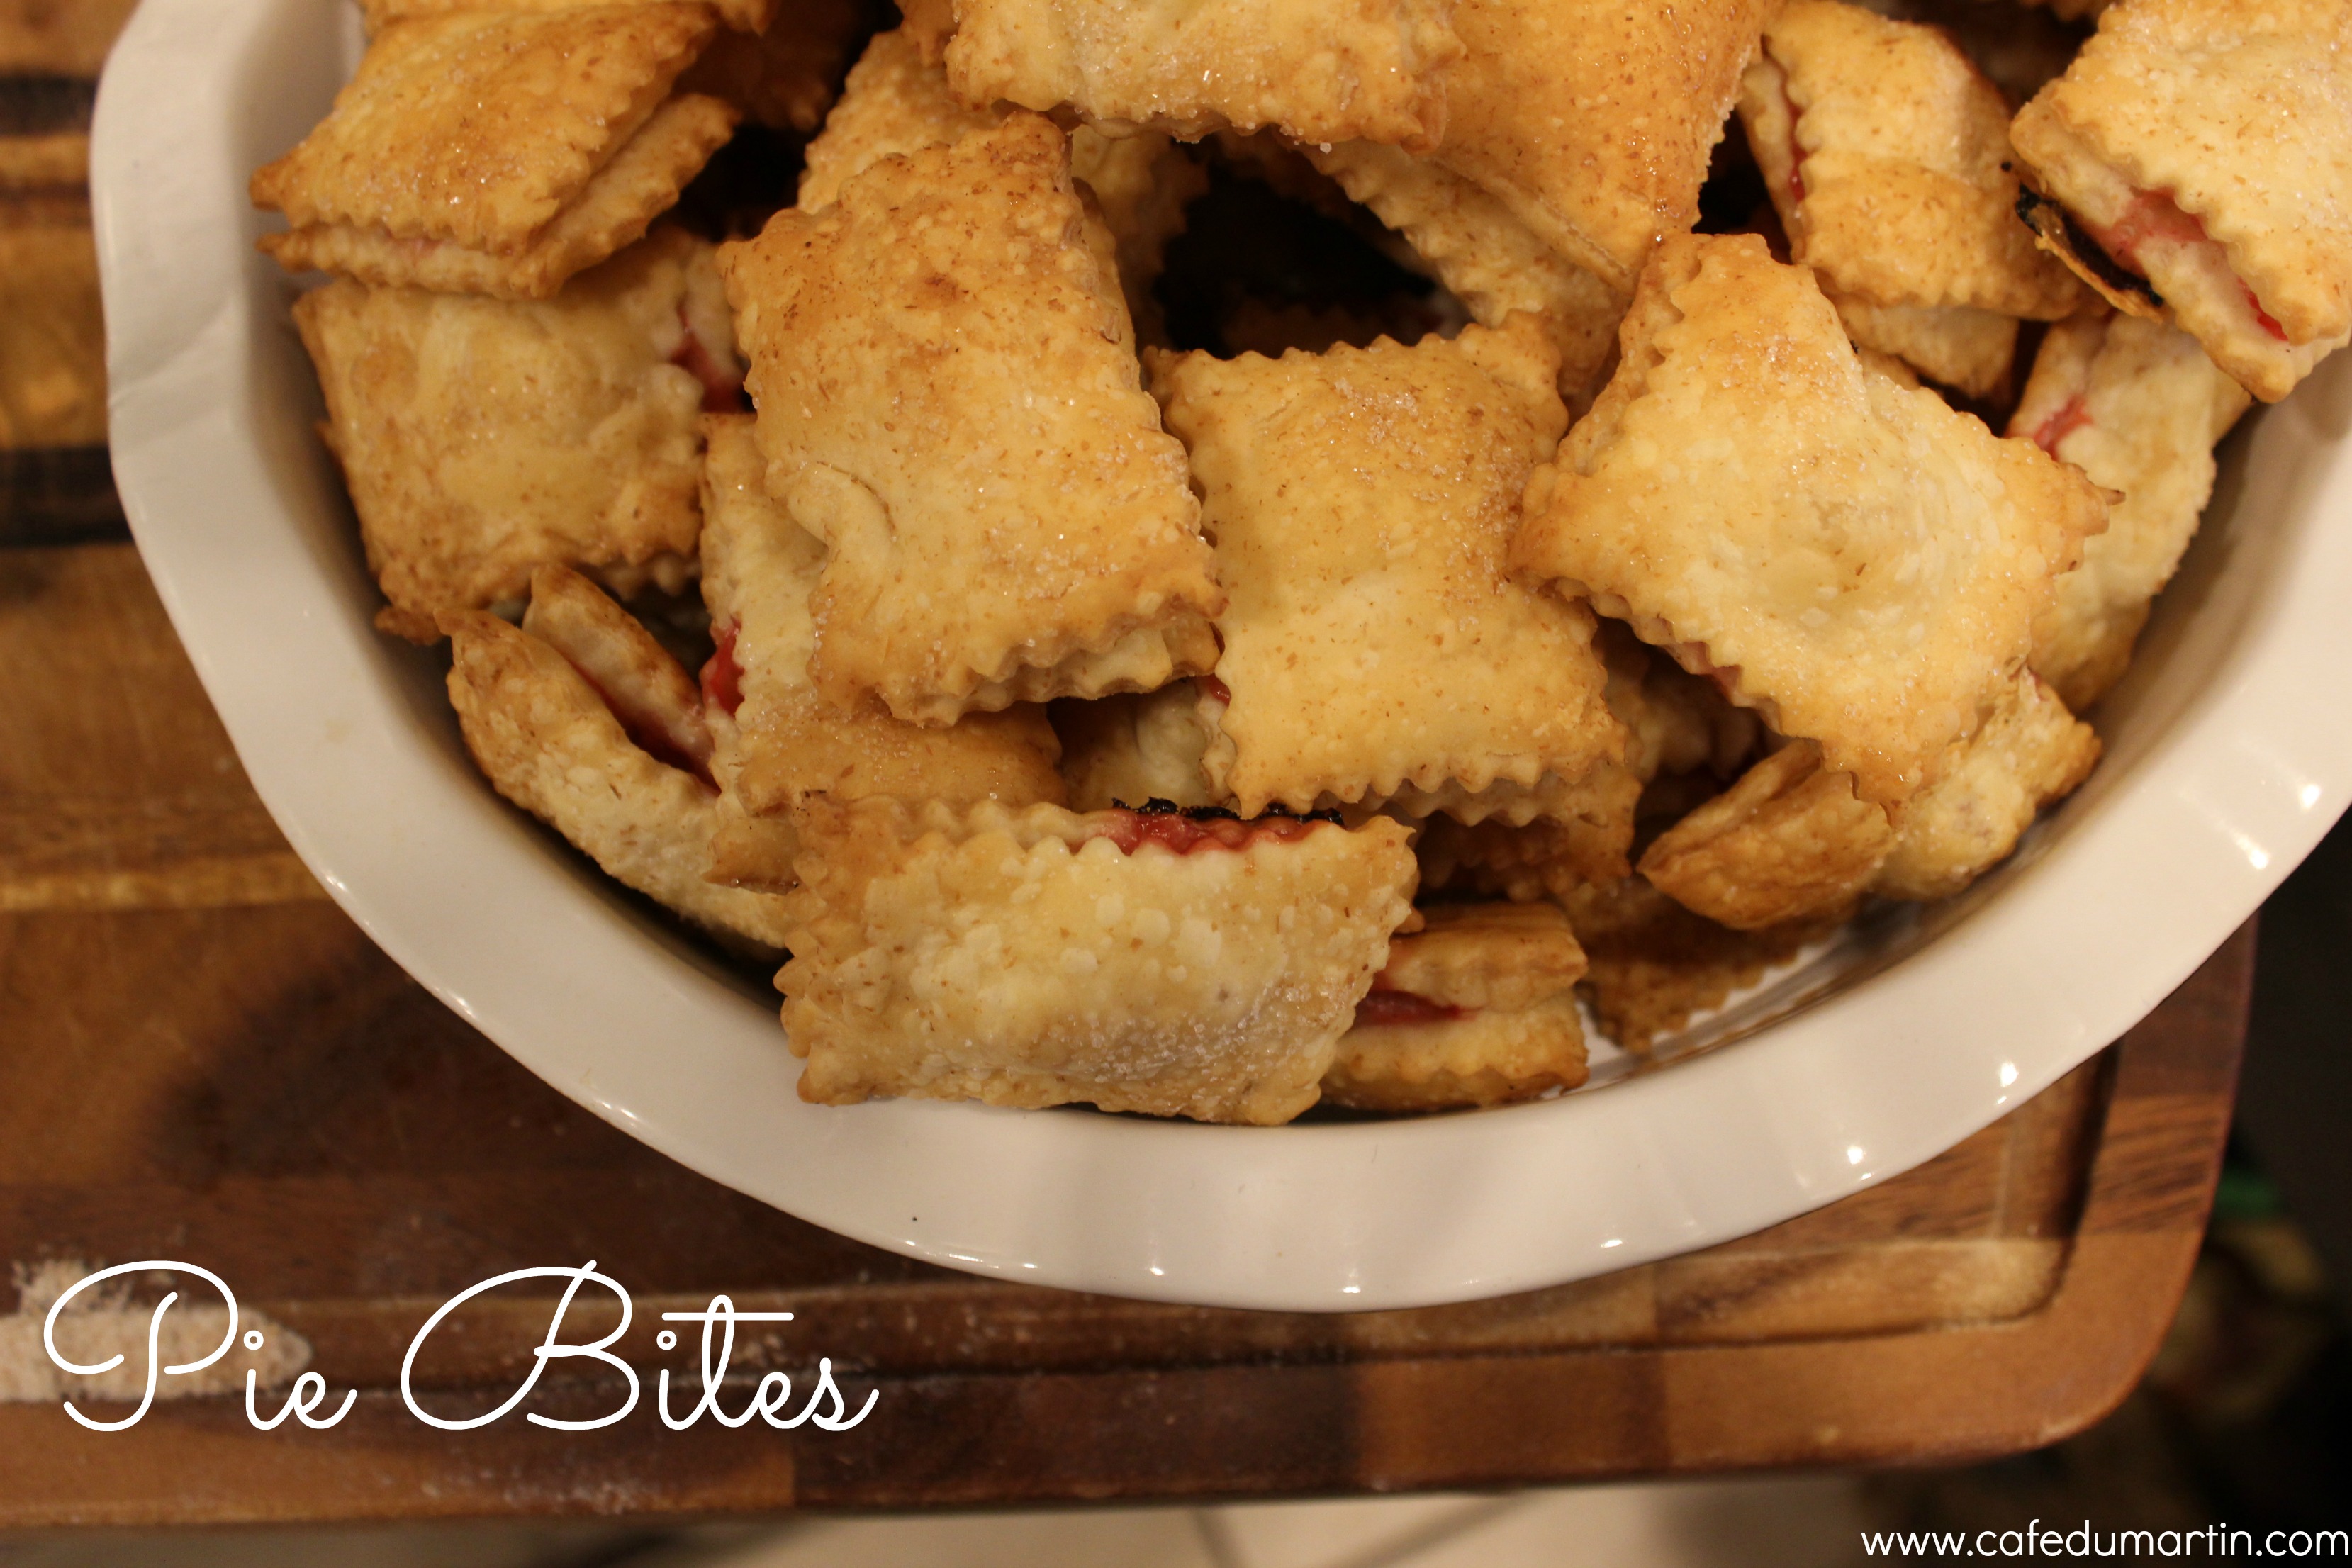
Pie Bites
Ingredients:
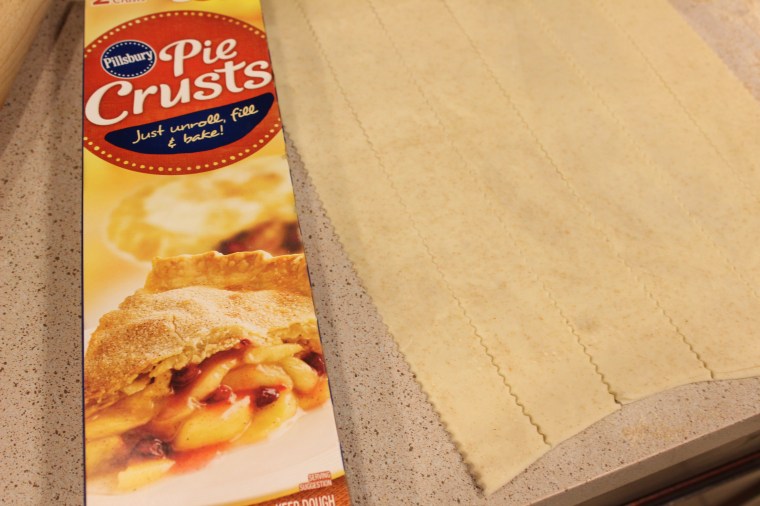
- 2 boxes of refrigerated pie crusts (I am a big fan of Pillsbury – they don’t fall apart as easily when rolling out)
- flour
- cinnamon sugar
- butter
For Pie Filling:
- Any fruit of your choosing (I have used strawberries, blueberries, peaches, etc.) diced into tiny pieces
- 1/4 cup of granulated sugar
- 1 tsp of cornstarch
Instructions:
- Preheat oven to 450 degrees
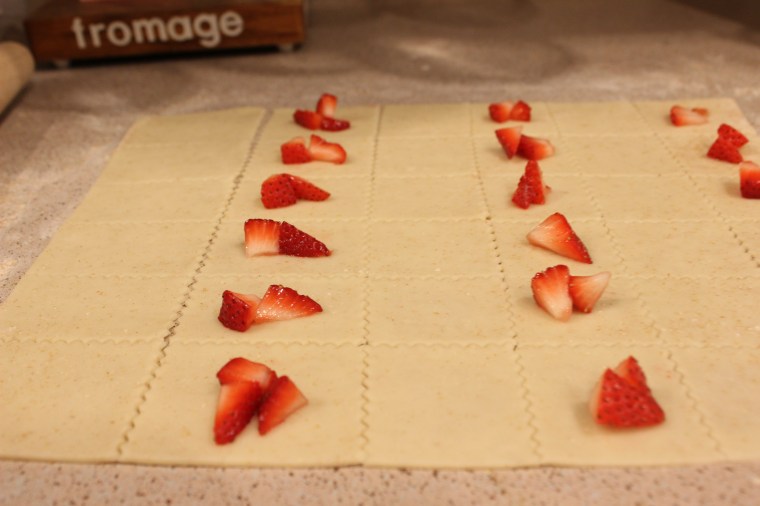
- Dice fruit (with the exception of blueberries – they are tiny enough to fit into the bite all on their own) and mix with sugar and cornstarch. Set off to the side while you roll out your crusts. This lets the filling thicken up a bit and become more like pie filling.
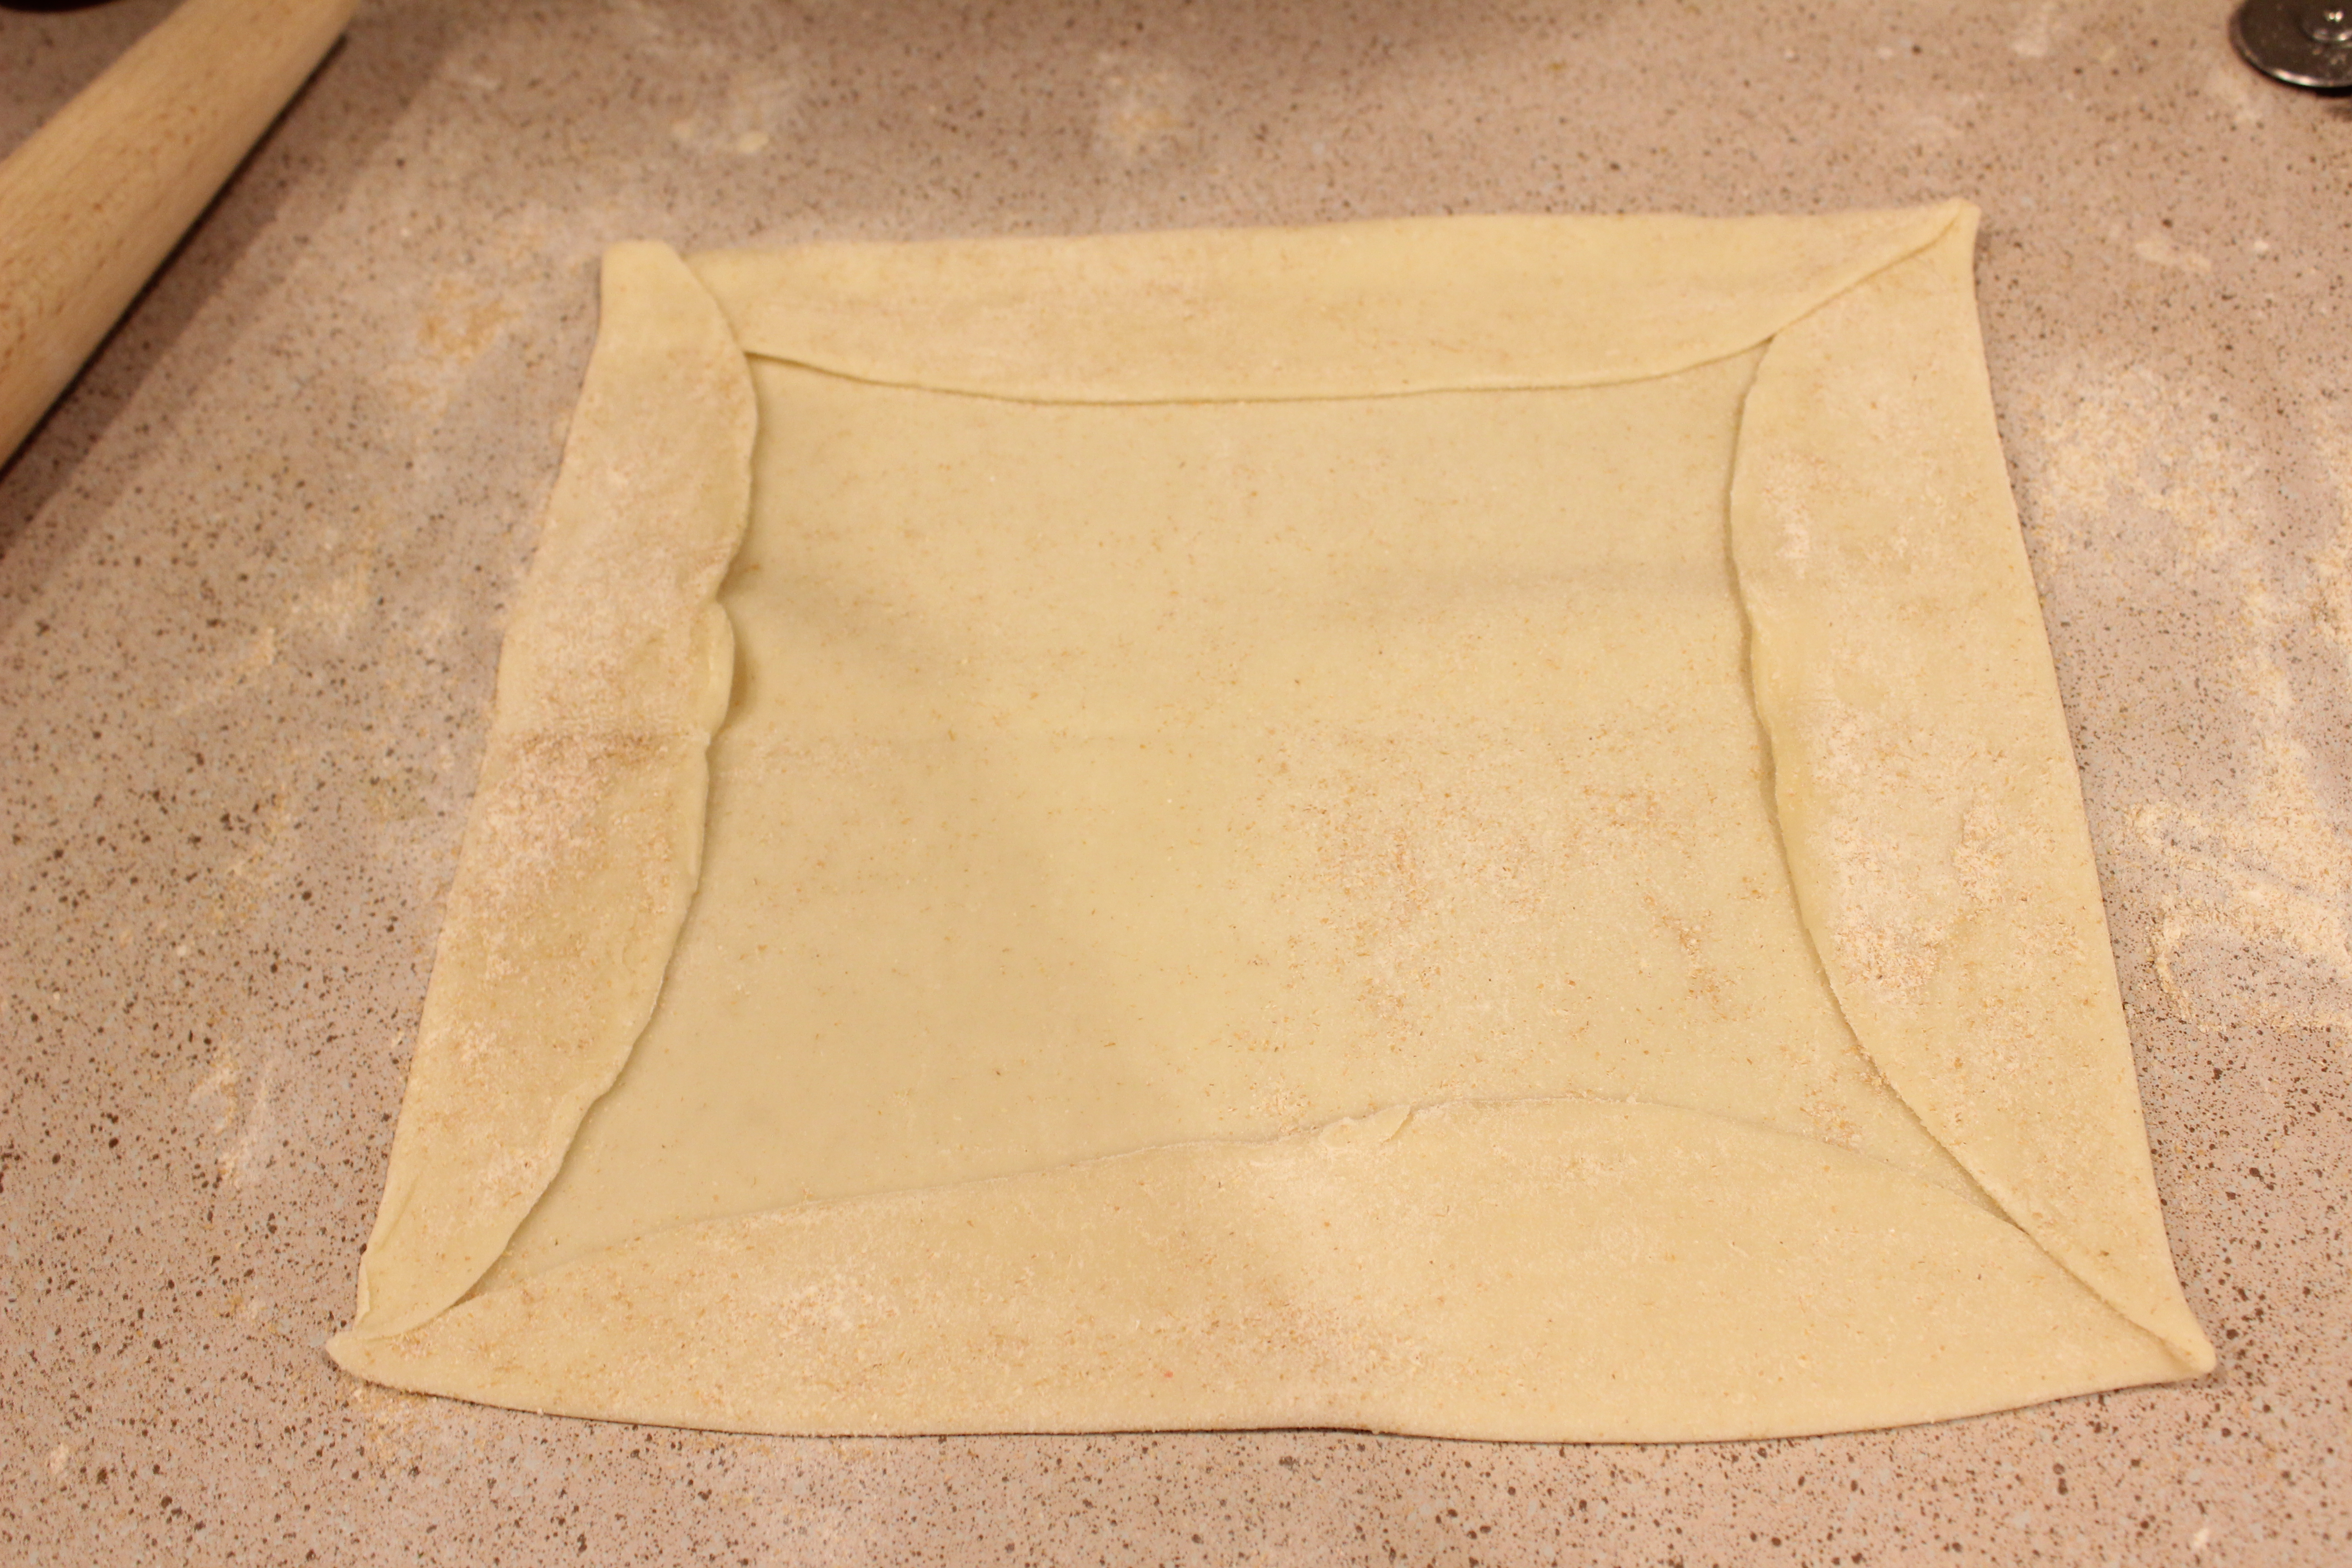
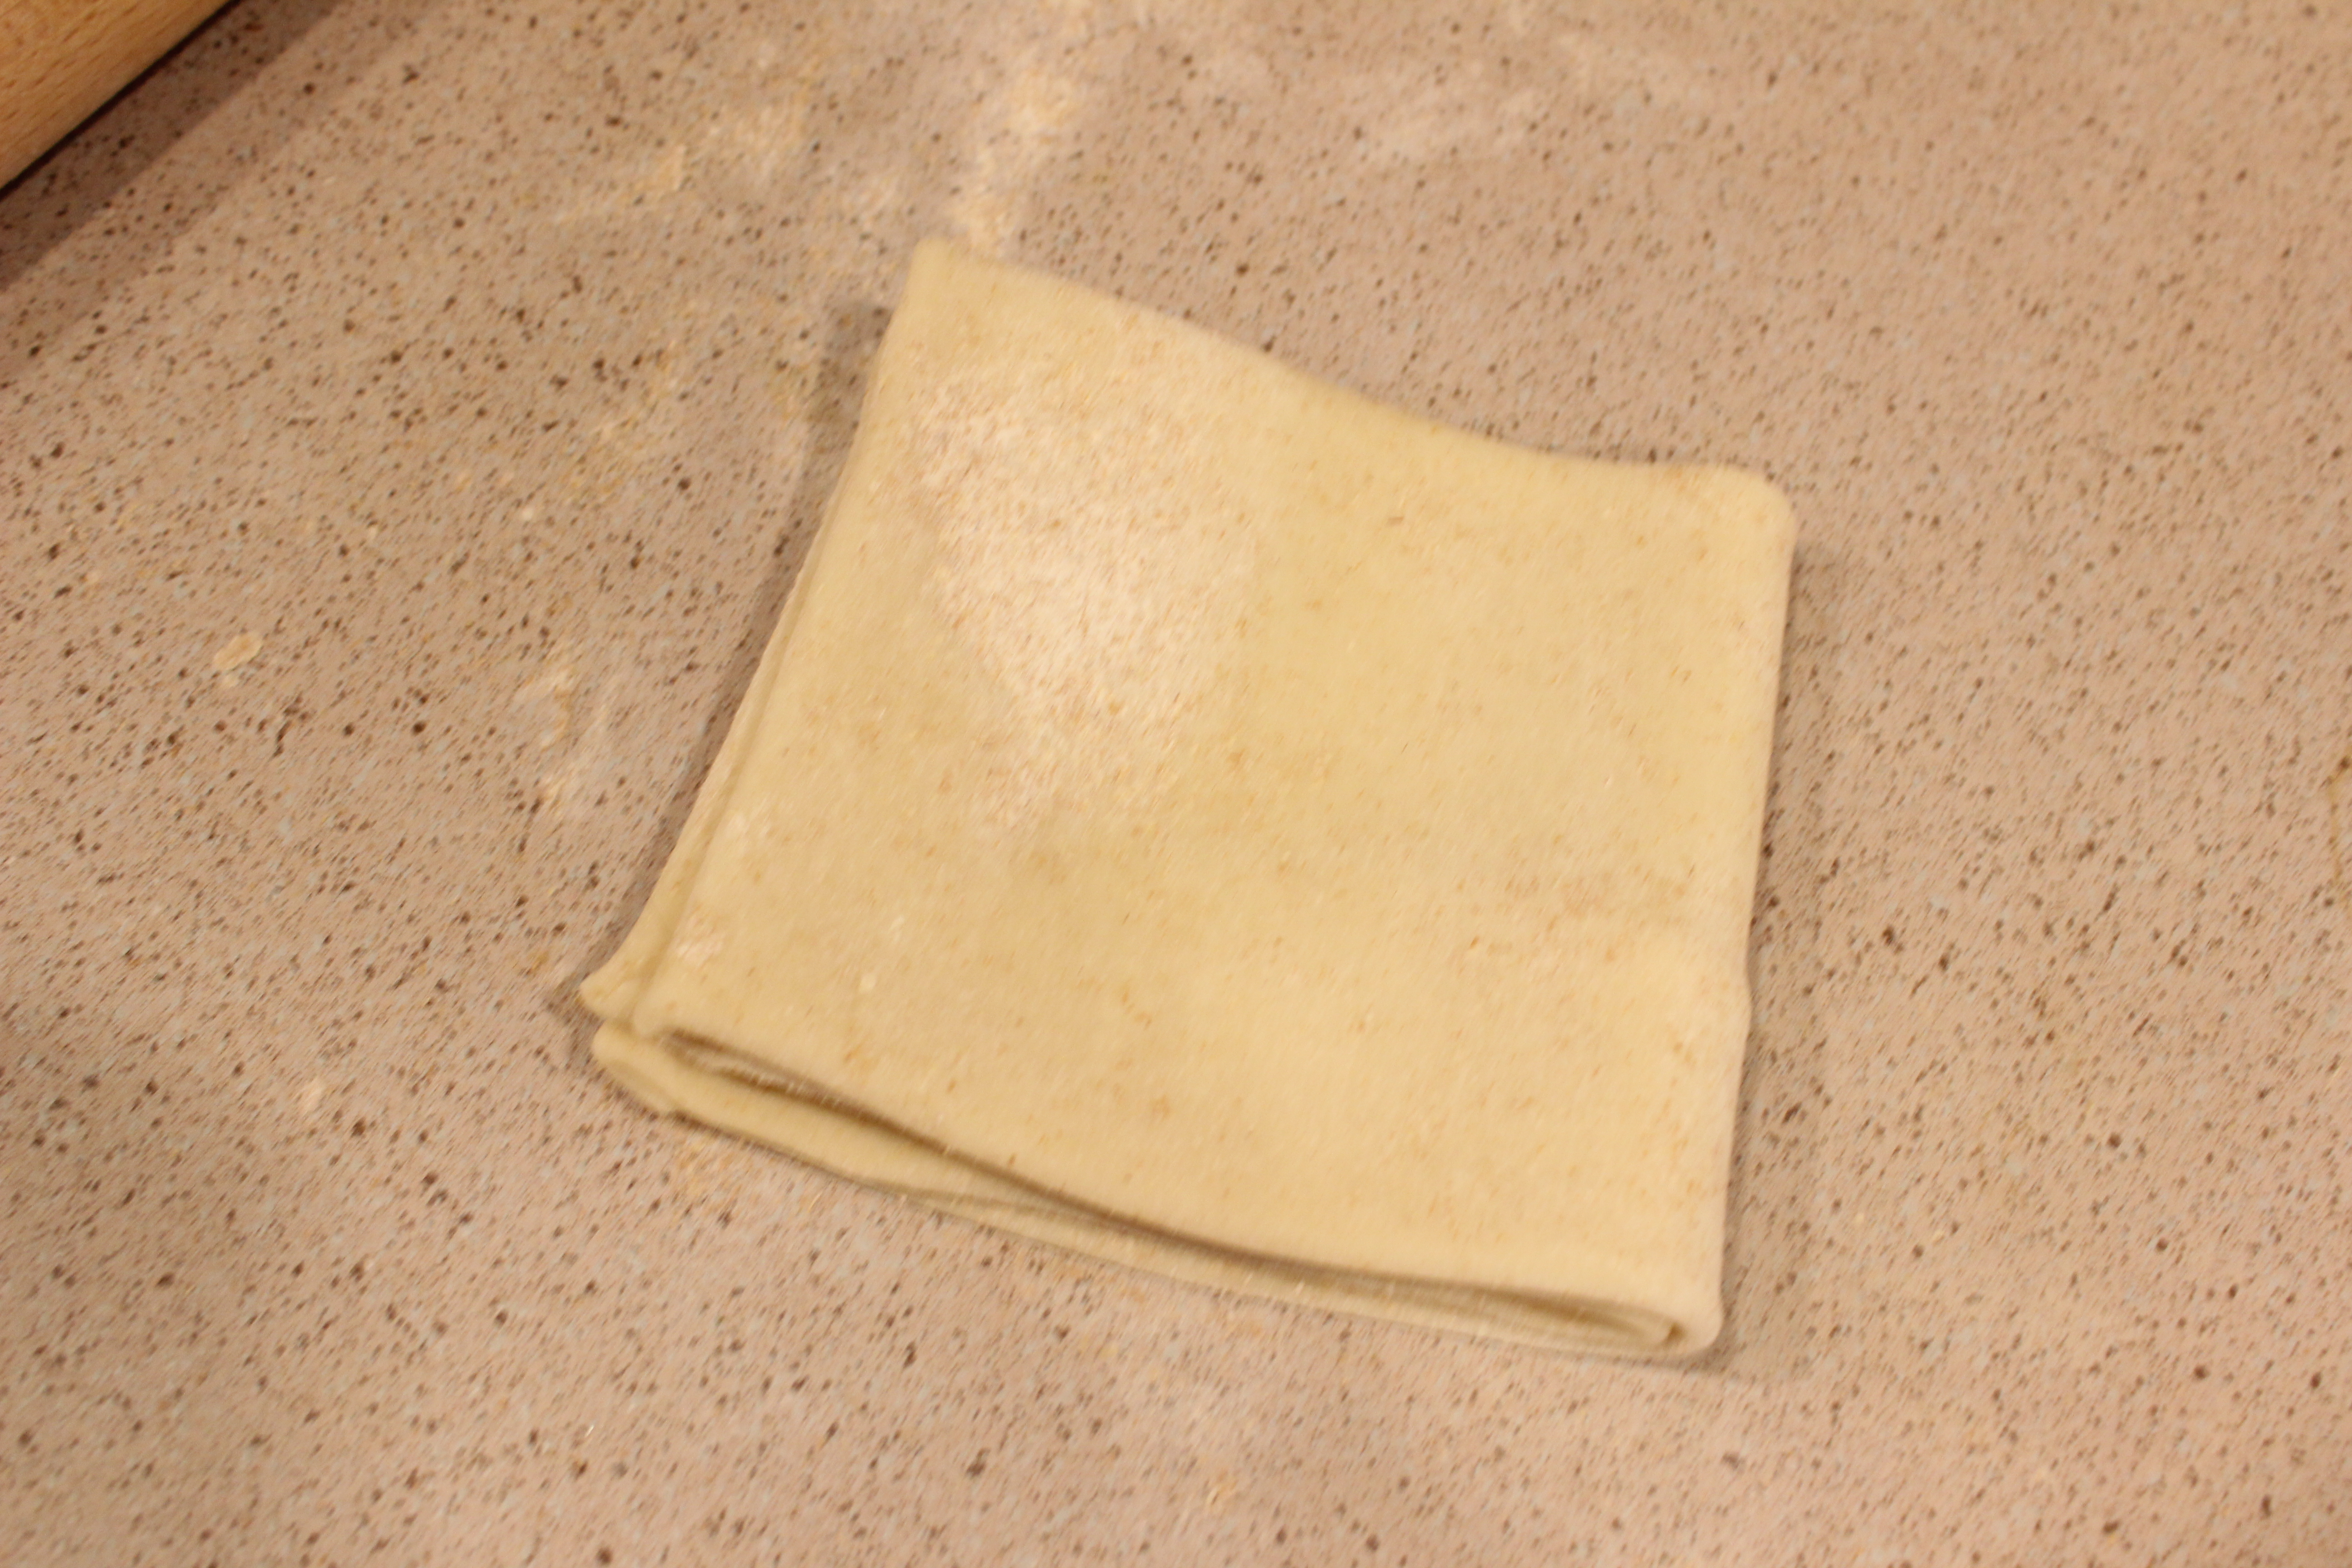
- Take your pie crusts out of the box and roll out with your rolling pin to make them a little bit thinner. Then fold over the edges making it a square.

- Fold over into fourths and roll out again – now you’ll have a large rectangle of dough to work with.

- Using a pizza cutter or pastry cutter cut your dough into columns and rows (the width and height of your little bites is completely up to you – beauty of a simple recipe!)
- Spoon a few pieces of your pie filling onto your dough – skipping ever other column.
- Now layer the piece of dough next to the pie filled dough on top. Press down edges with a fork.
- Brush the tops of your bites with melted butter and sprinkle with cinnamon sugar on top.
- Bake in the oven for about 8 minutes or until tops of the pie bites are nice and golden brown.

Now who can have a slice of pie without a little whipped cream? The two go together like Paula Deen and a stick of butter. I wanted to make a dip to frost these little babies in but didn’t want to resort to a tub of Cool Whip or a can of whipped cream. I also wanted something a little bit heftier with more flavor. In comes the best dip/whipped topping that I have ever made. No joke. I use this dip for EVERYTHING. So when thinking of a title for said dip I thought…why not the everything dip? From Pie Bites to cut up fruit – it’s delicious on just about every sweet treat we eat.
Everything Dip
Ingredients:
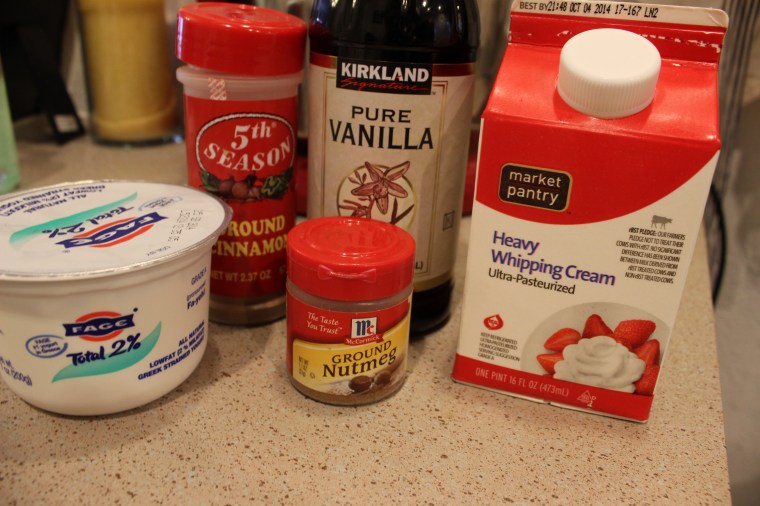
- one pint of heavy whipping cream
- 1 tbsp of vanilla extract
- 1-2 tsp ground cinnamon
- 1/4 cup granulated sugar (easily replaced by splenda if you are trying to watch that sort of thing)
- 1 tsp ground nutmeg
- 1 single serving container of plain greek yogurt (I like to use the 2% FAGE Greek Yogurt – I’ve also used their whole version, just don’t use anything with less than 2% because it can get runny)
Instructions:
- With a stand mixer or hand mixer whip your heavy whipping cream until you form stiff peaks (have no idea what “stiff peaks” are? It’s ok, I didn’t for the longest time – until I read this)
- Then add your sugar, vanilla, cinnamon, and nutmeg – continue whip until all ingredients are combined.

- Fold in your greek yogurt (or you can continue to use your mixer just beat on LOW – make sure to not over beat/mix your dip because it will get all funky/runny)
- Chill and serve with your delectable pie bites. I assure you this dip is the best thing to have in your brunch hosting, dessert serving, dinner party throwing tool belt.
Happy eating!